Setting up checkweighing on a scale can help with quality control, inventory management and industrial applications. In this instructional guide, we will give you a detailed step-by-step process on how to set up checkweighing functions on a checkweighing scale. The specific scale used is the Adam Equipment Crusier CKT series.
**If using a container tare the container using the tare button before weighing**
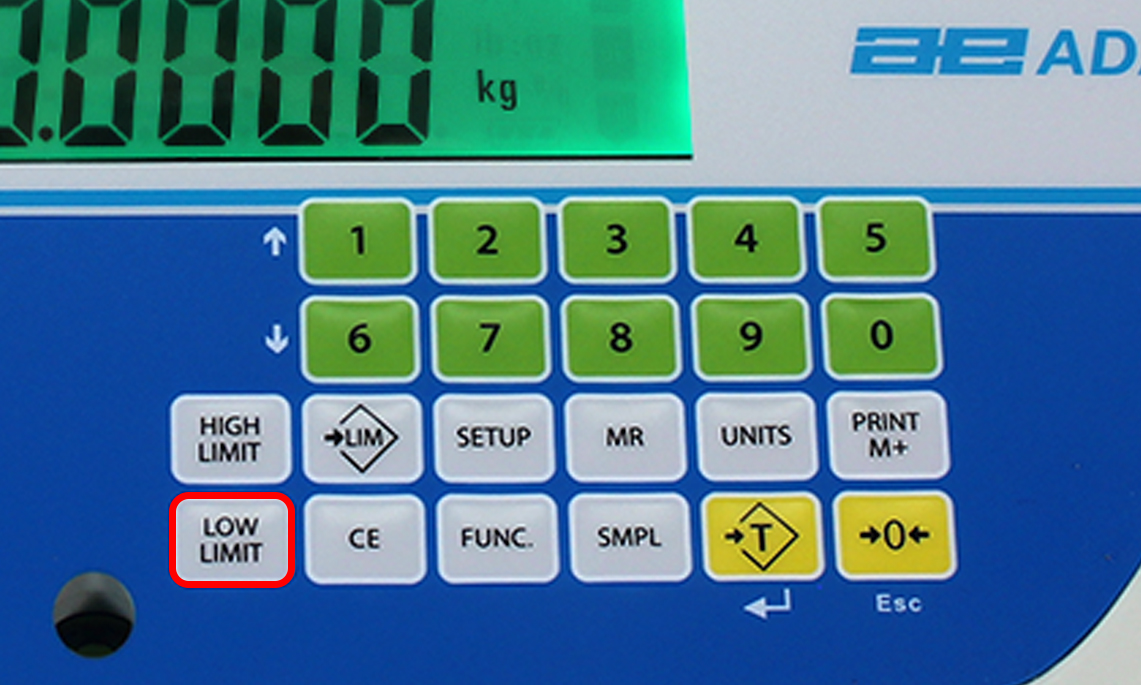
1) When in normal weighing and before weighing. Press the low limit key (show picture)

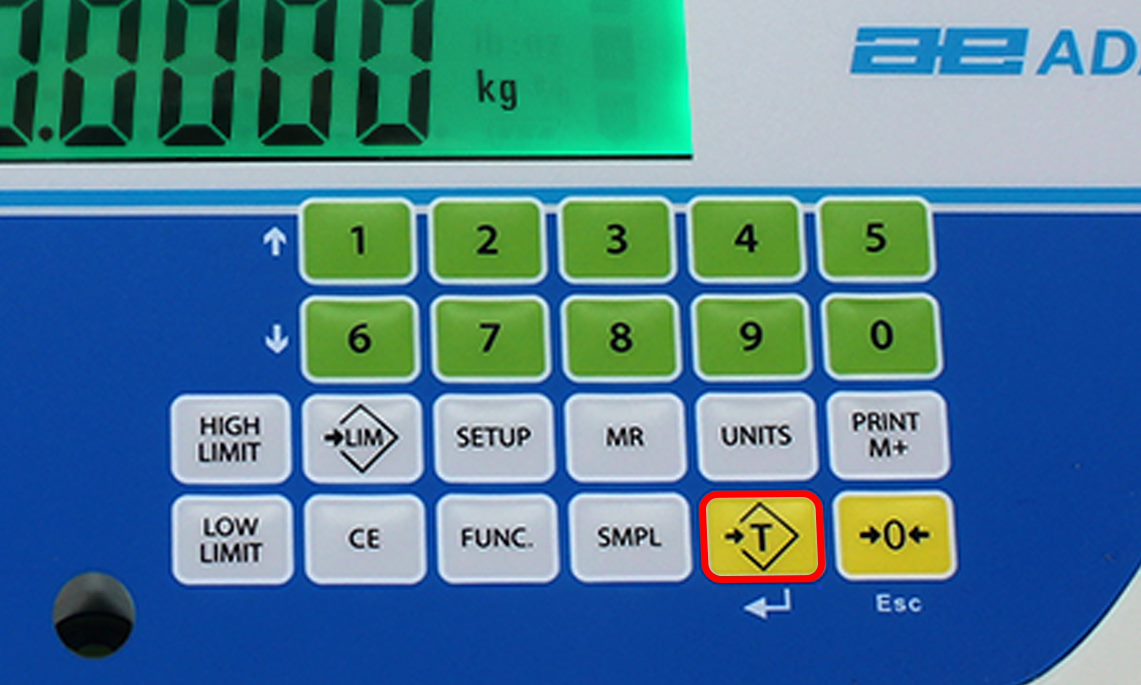
The lo symbol will appear. It will show the current low limit. If there is not one you can set it with the numeric keypad. Once you have entered in your low limit press the T (Tare key) with the arrow for enter. (note if you are entering in whole numbers you will have to add zeros to reach the weighing unit limits in use) For Example 2.00 oz

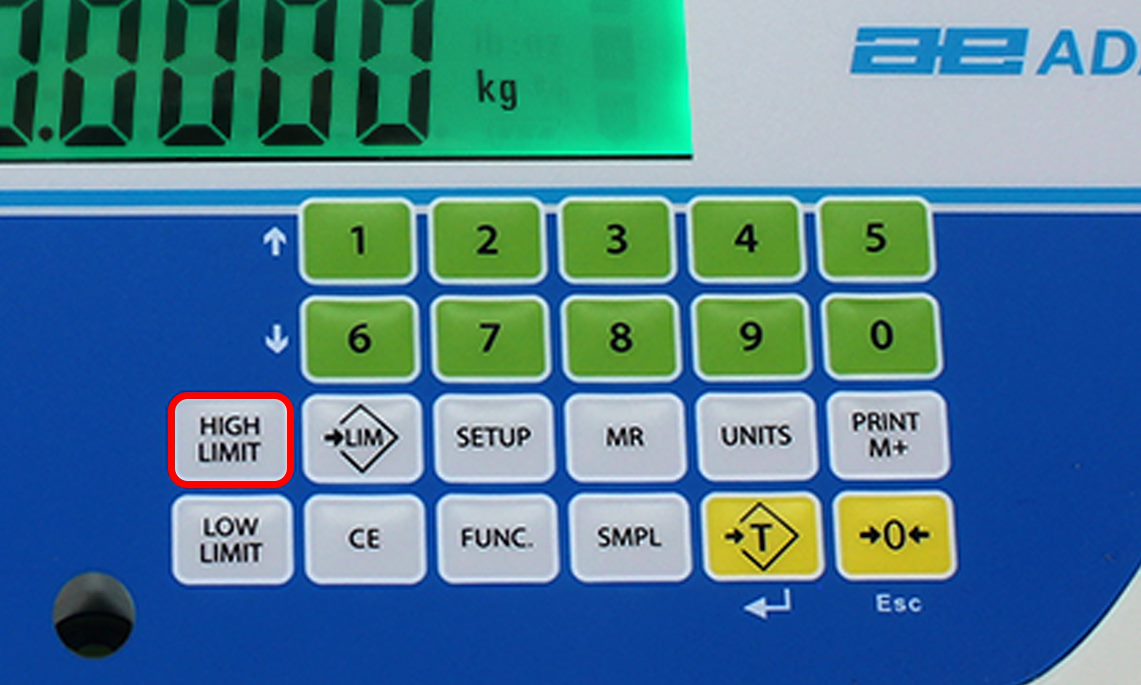
2) After entering the low limit you can set the high limit by pressing the high limit key. The HI It will show the current high limit. If there is not one you can set it with the numeric keypad. (Show image with Hi limit circled)

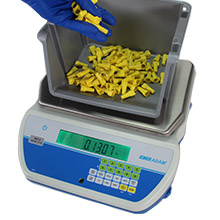
3) Begin Checkweighing.
Anything below the low limit on the CKT will show a yellow display. Anything within the low and high limit will show a green display. And lastly, anything over the high limit will be a red display and a loud audible alarm will sound to alert the user.

If you need to disable checkweighing. Repeat these step but enter zero in for both limits. When the current limits are shown, press[CE]to clear the settings, then press [Tare] to store the zero values


